Lash Bomb Pack (Step 1, 2 & 3)
It's time to embrace natural beauty...
What is lash lifting?
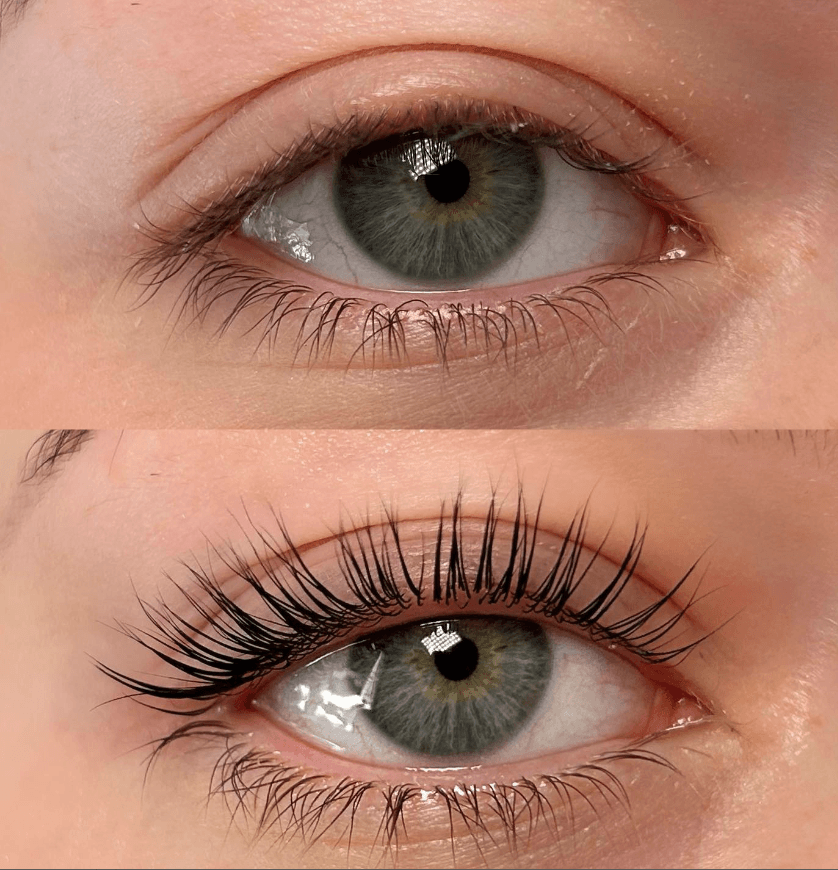
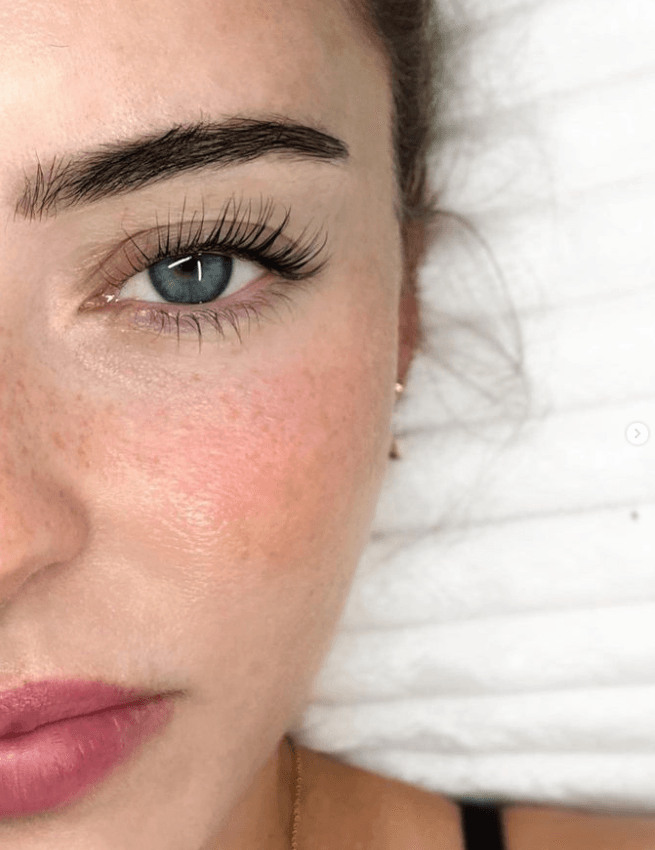
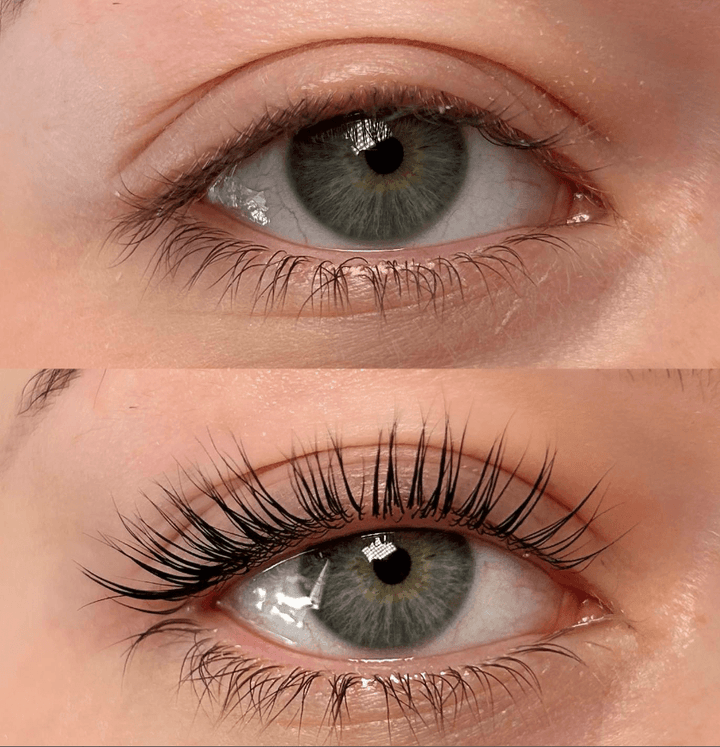
Lash lifting is a perm for the eyelashes. The treatment gives natural lashes length and volume, creating a fuller, more enhanced look. If correct aftercare is followed, the treatment lasts for up to 8 weeks.
Do I need to be trained in lash lifting?
Yes, you should be a fully qualified professional to offer this service. Beautiful Brows & Lashes offer a Lash Lifting course that is ABT-accredited and teaches you everything you need to know.
Can I wear mascara with a lash lift?
Yes! You can apply mascara 24 hours after a lash lift without affecting the lift.
Processing time:
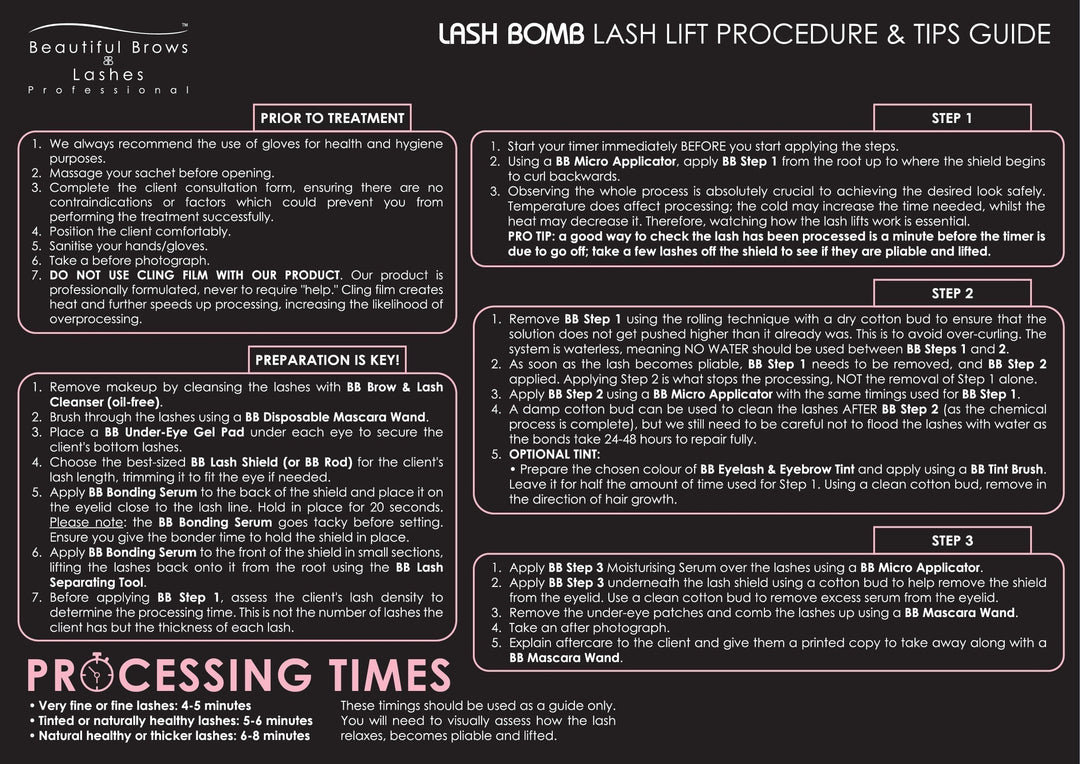
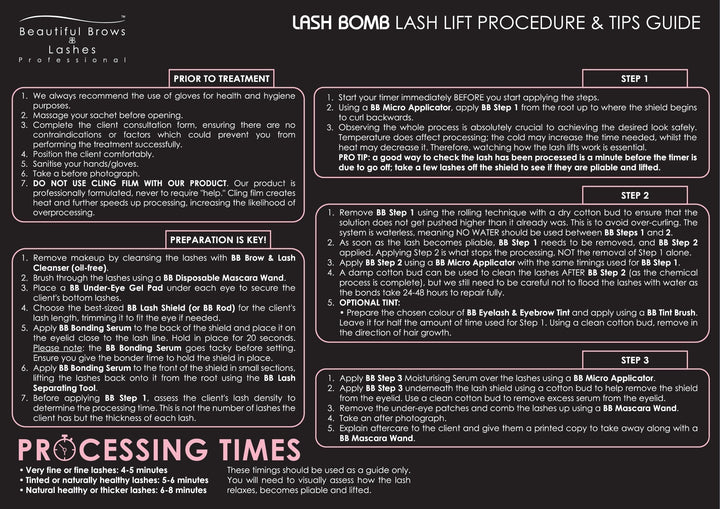
· Very fine or fine lashes: 4-5 minutes
· Tinted or naturally healthy lashes: 5-6 minutes
· Natural healthy or thicker lashes: 6-8 minutes
What's included?
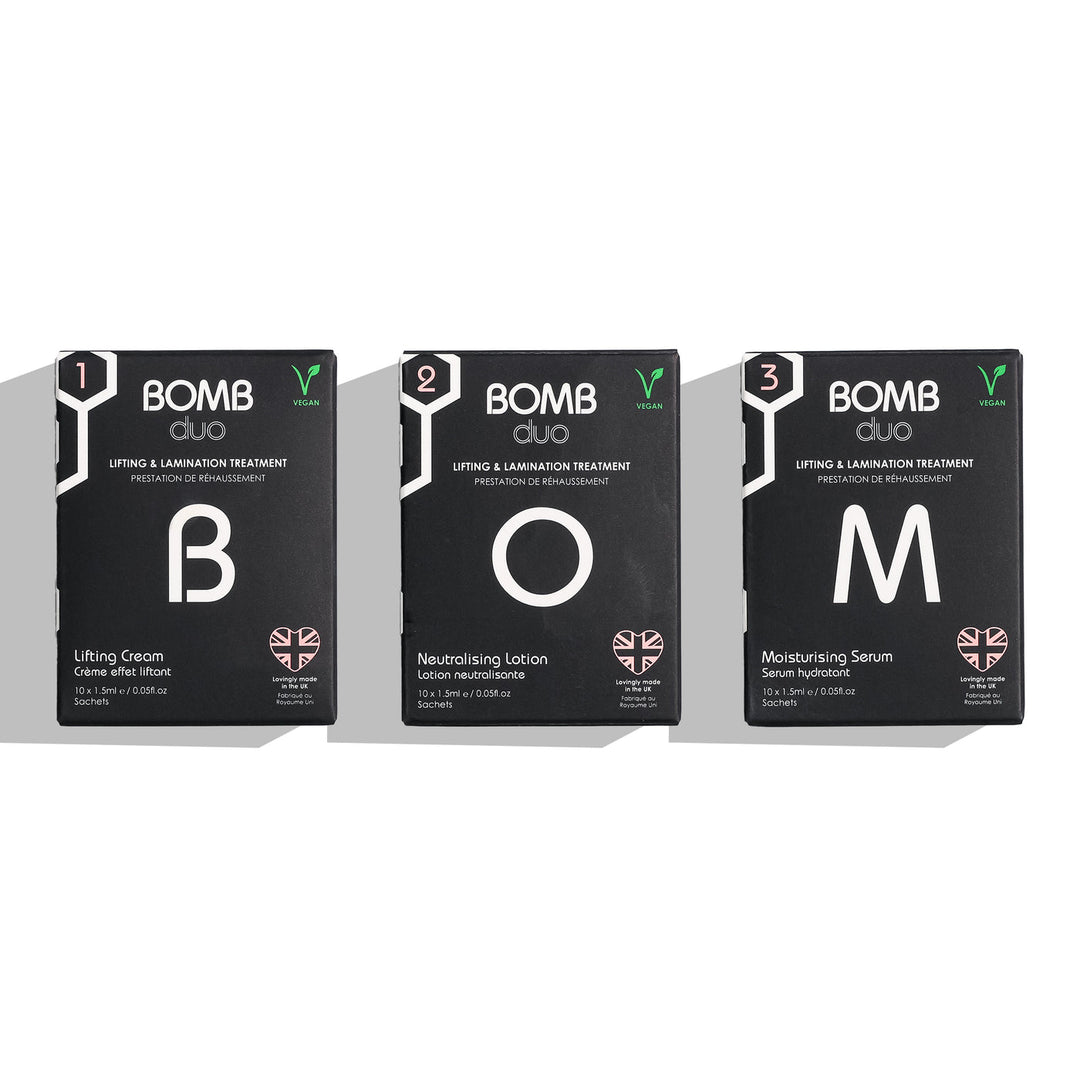
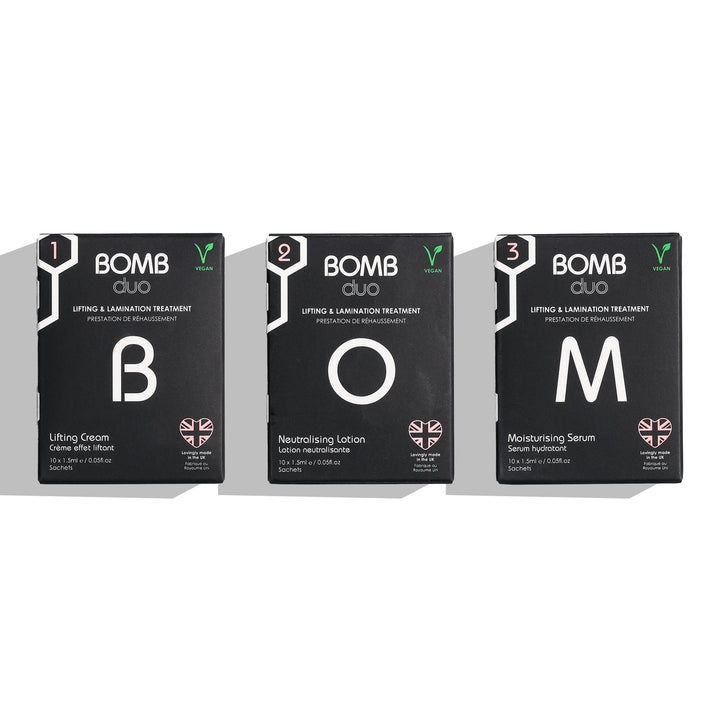
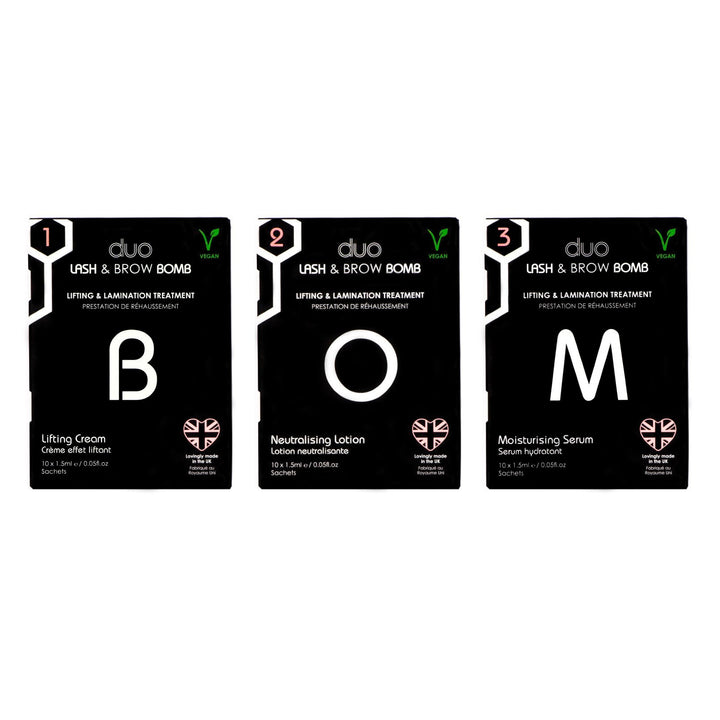
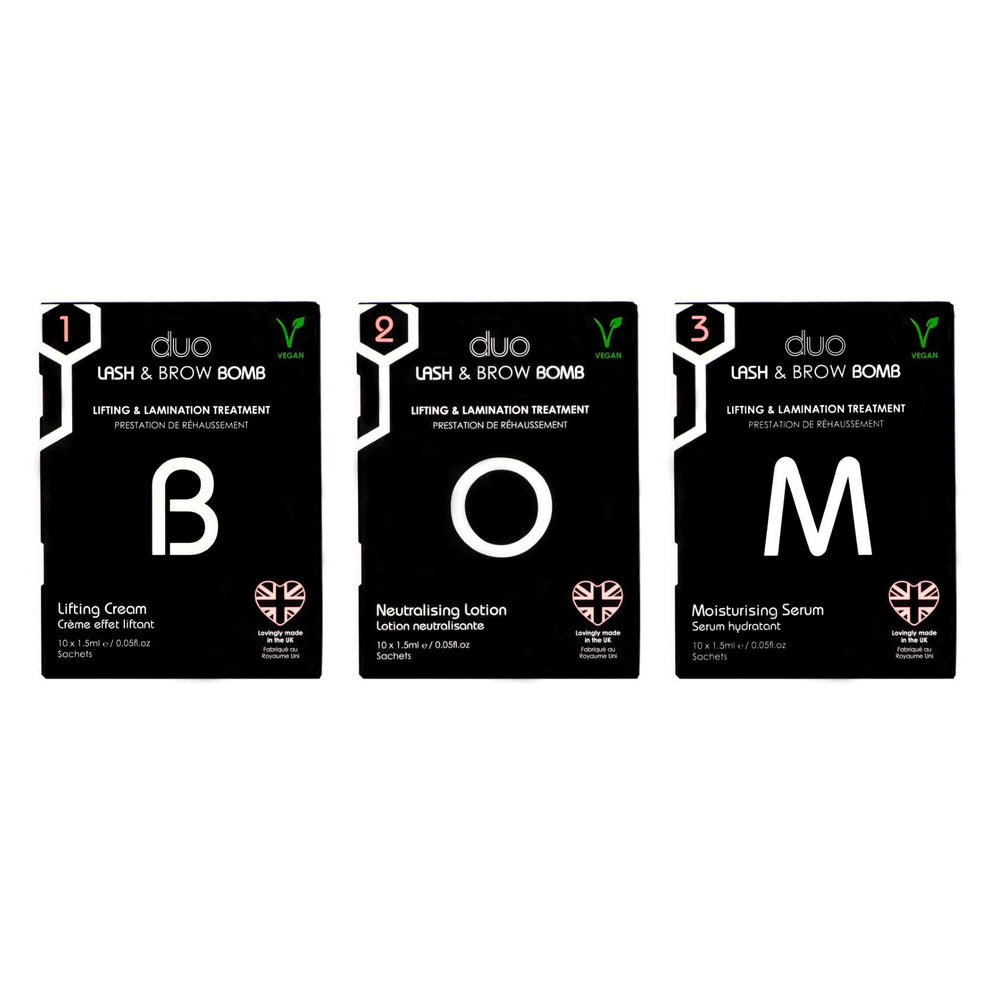
- 10 x Lash Bomb Lifting Cream Sachets
- Enriched with Cocoa Butter, Biotin, Hydrolysed Rice, Wheat & Soy Protein and Vitamin B3
- 10 x 1.5ml sachets
- Made in the UK
- 10 x Lash Bomb Neutralising Lotion Sachets
- Enriched with Cocoa Butter, Hyaluronic Acid, Glass Microbeads, Panthenol and Liquorice and Horsetail Extracts
- 10 x 1.5ml sachets
- Made in the UK
-
10 x Lash Bomb Moisturising Serum Sachets
- Enriched with Panthenol, Hyaluronic Acid, Marshmallow Extract, Aloe Vera, Hydrolysed Rice, Wheat & Soy Protein, Rosemary, Camomile, Anica Montana and Apricot Extracts
- 10 x 1.5ml sachets
- Made in the UK
IMPORTANT INFORMATION FOR LASH BOMB:
Sachets to be gently massaged before opening and to be decanted into glue ring before use.
Full Procedure for Lash Bomb Lash Lift:
The treatment time varies depending on the individual client’s lashes.
- Complete client consultation sheet
- Position client comfortably
- Take a before photograph
- Protect client’s hair with a headband or mop cap and drape a towel or bed roll over the client’s upper body to protect clothing
- Sanitise your hands
- Remove any traces of makeup using an oil free makeup remover and a clean cotton pad, place cotton pad in bin
- Comb through the lashes using a disposable mascara wand, put the mascara wand to the side for later in the treatment
- Place a collagen pad under each eye ensuring clients bottom lashes are secured under them
- Choose the appropriate shields, trimming to fit as required
- Apply bonder to the back of the shield and place in position on the eyelid close to the root, hold in place for 20 seconds
- Apply bonder to shield in small sections and lift the lashes from the root using the lash tool and attach them to the shield, gradually move along the shield until all lashes are bonded to the shields
STEP ONE:
Directions of use:
Apply a small amount of lash lifting cream from root to 1/3 up the lash for a lift and maximum 1⁄2 way up lash for lift and slight curl using a micro-applicator.
Processing time:
- Very fine lashes 4-5 minutes
- Fine or tinted lashes 5-6 minutes
- Natural healthy lashes 6-8 minutes
Remove using a clean micro-applicator, place used micro-applicator in bin.
STEP TWO:
Directions of use:
Apply a small amount of Neutralising lotion to where the lash lifting cream was applied using a micro-applicator
Processing time:
- Very fine, fine and tinted lashes 5 minutes
- Natural healthy and course healthy lashes 6 minutes
- Remove using a clean micro-applicator, place used micro-applicator in bin
- Optional colour use - Prepare chosen colour of tint and apply using a tint brush. Remove tint after 3-5 minutes using a clean cotton bud, place used cotton bud in bin.
STEP THREE:
Directions of use:
- Apply moisturising serum over the lashes using a micro-applicator, gently releasing the lashes from the shield
- Apply moisturising serum to the eyelid under the lash shield using a micro-applicator, gently releasing the shield from the eye,
- Use a clean cotton bud to remove excess serum from the eyelid, place used cotton bud in bin
- Remove under eye patches and comb lashes up using a mascara wand
- Take an after photograph
- Explain aftercare to client and give them a printed copy to take away along with a mascara wand.
SKIN SENSITIVITY / PATCH TEST:
A patch test must be carried out at least 24-48 hours prior to treatment date. The result from the test will be either positive or negative. A positive result will be recognised by irritation, swelling or inflammation of the skin. If this occurs, you must not proceed with the treatment. A negative result produces no skin reaction and you can proceed with the treatment. Results of the test must be recorded on the clients record card.
TINT PROCEDURE:
- Clean an area of skin on the client’s right inner arm
- Mix a small amount of tint and hydrogen peroxide 3% and place 2 small dabs to the inner arm, just below the elbow and cover with micropore tape. Record placement on clients record card. Lash Bomb
- Clean an area of skin on the client’s left inner arm
- Place a dab of each of the 3 Lash Bomb treatment products and bonder onto the client’s inner left arm, just below the elbow and cover with micropore tape. Record placement on clients record card.
LASH BOMB AFTERCARE:
The aftercare advice is given to ensure the client fully understands what should and should not be done 24-28 hours post treatment for longevity of the lash bomb treatment results
Do not apply make-up or receive any other eye treatments for 24-48 hours after your treatment.
Avoid rubbing the eyes
Avoid putting contact lenses back in for 24-48 hours
Avoid swimming/sauna for 24-48 hours
Keep lashes dry for 24-48 hours
Use a lash conditioner daily
Comb the lashes upwards using the mascara wand
Sleep on your back for up to 2 days after treatment to prevent the lashes being squashed by the pillow.
If any stinging or swelling occurs, keep applying a cold dampened cotton pad, cold compress or cooling spray to soothe, if it persists seek medical advice and let technician know so they can put it on your record card.
Beneficial Ingredients:
STEP ONE / Lash Lifting cream:
Urea is an Active Penetration Enhancer which enables deeper penetration of Biotin, Hydrolysed Rice, Wheat & Soy Protein and Vitamin B3 into the hair follicles strengthening, and conditioning the lashes whilst also creating the ultimate lash lifting treatment.
Enriched with Cocoa Butter, this helps to moisturise and give your lashes a silky shine.
Biotin is known to strengthen the keratin bonds within the hair follicles, strengthening the lashes and enhances hair elasticity which enhances the lash lift.
Hydrolysed Rice, Wheat & Soy Proteins are protein derivatives that are highly hygroscopic with an enhanced moisture binding ability. Free amino acids are known to penetrate the upper layers of the skin as well as through the hair cuticle into the hair shaft. This action draws moisture into these areas improving skin and lash hydration. Vitamin B3 is known to stimulate hair growth and has been included in the formula to aid lash growth and provide fuller lashes.
STEP TWO / Lash Neutralising Cream:
Urea is an Active Penetration Enhancer which enables deeper penetration of Biotin, Hydrolysed Rice, Wheat & Soy Protein and Vitamin B3 into the hair follicles strengthening and conditioning the lashes whilst also creating the ultimate lash lifting treatment.
Enriched with Cocoa Butter to moisturise and give your lashes shine.
Hyaluronic Acid is well known for its moisturising and smoothing properties included in the formulation to moisturise and condition the lashes.
The formulation contains Glass Microbeads that promote optical blurring effect. They have also been included in the formulation to separate lashes after application. The microspheres enable a ball bearing effect creating less friction between lashes.
Panthenol penetrates the cortex of the hair shaft within the lashes which can help repair damage caused by perming and colouring and is also known to slow down the hair aging process which can be caused by repeated grooming.
Also contains Liquorice and Horsetail Extracts to aid lash growth.
STEP THREE / Moisturising Serum:
Panthenol penetrates the cortex of the hair shaft within the lashes which can help repair damage caused by perming and colouring and is also known to slow down the hair ageing process which can be caused by repeated grooming.
Hyaluronic Acid is well known for its moisturising and smoothing properties included in the formulation to moisturise and condition the lashes.
Marshmallow Extract helps to detangle the lashes helping them to spread more evenly.
Aloe Vera to condition the lashes and skin which promotes smoothness and shine.
Hydrolysed Rice, Wheat & Soy Protein are protein derivatives that are highly hygroscopic with an enhanced moisture binding ability. Free amino acids are known to penetrate the upper layers of the skin as well as through the hair cuticle into the hair shaft. This action draws moisture into these areas improving skin and lash hydration.
Also includes Rosemary, Camomile, Arnica Montana, Apricot Extracts to have anti-inflammatory benefits and help soothe the skin.
STORAGE:
Lifting, neutralising and moisturising solutions:
- Store at cool room temperature
- Once open re-seal the sachets using micropore, write date opened on micropore tape, place in airtight container
- Can be used for up to 7 days on clients or up to 14 days as a patch test
BONDER INFORMATION:
Medical conditions affecting suitability for treatment:
- Cataract - A letter from GP stating the client is suitable for treatment must be obtained and kept with their records.
- Diabetic retinopathy - A letter from GP stating the client is suitable for treatment must be obtained and kept with their records.
- Glaucoma - A letter from GP stating the client is suitable for treatment must be obtained and kept with their records.
- Herpes simplex/eye infections/ folliculitis – Not suitable for treatment whilst infected
- Psoriasis/Eczema – Not suitable for treatment if in the treatment area
- Conjunctivitis - Not suitable for treatment whilst infected
- Dry eye syndrome/ watery eyes -Not suitable for treatment.
- Contact lenses – Must be removed before treatment
- Trichotillomania – Not suitable for treatment
- Alopecia -Not suitable for treatment
- Blepharitis – Not suitable for treatment
- Pregnant or breastfeeding - There is no evidence-based research to confirm if certain products could affect an expectant mother or baby therefore not recommended for pregnant women as a safety precaution.
- Recent Lasik Surgery - Must wait 6 weeks after the 2nd procedure.
- Recent Permanent Makeup- Must wait 4 weeks after 2nd procedure.
- Clients who have cuts, abrasions, inflammation or swelling in the treatment area or who have experienced a positive reaction to the patch test are not suitable for treatment.
- Hay fever – Not suitable for treatment
- Eye lift - Must wait 4 to 6 MONTHS after the operation and a letter from GP stating the client is suitable for treatment must be obtained and kept with their records.
- Cancer - The lashes need some extra TLC and babying during chemo and the recovery period, which varies from client to client. It’s important not to put any extra stress on lashes. It’s best to refrain from treatment during chemotherapy, and several months after the clients last treatment, as the lashes are still susceptible to the effects of the drugs. Ideally, you’ll want to wait until the natural lashes are less fragile. A letter from GP stating the client is suitable for treatment must be obtained and kept with their records.
PROCEDURE FOR RELAXING OR REVERSING A LASH LIFT:
- You will need to ensure the lashes are in a good enough condition to process again before proceeding with the relaxing.
- This can be done by repeating the lash lift, however this time you do not use the shields and lift the lashes, you comb the solution downwards from the top of the lash to the bottom (try to avoid the tips of the lashes), let it process for 1-2 minutes depending on how much reversal you want then remove
- When done, wipe off and then put your neutralising solution on and let this process for 1-2 minutes then remove. This will reverse the lash lift to a degree and should fix the problem.
- Apply moisturising serum
- Clients must use a lash conditioner twice a day starting 24 hours following treatment.
- Assess clients eyes for sensitivity.
If red or sore you will need to wait 24 hours
STORAGE:
Cool, dry environment
Store at cool room temperature
Dry adhesive can be peeled off from the bottle
Limit exposure to air.
Image 3 by Instagram @beautybycally
Image 4 by Instagram @blossombeebeauty
